Thinking about upgrading your kitchen plumbing? Whether you’re a seasoned DIYer or a newbie, tackling this task can feel a bit daunting. But with the right tools in your arsenal, it doesn’t have to be. From tightening up those leaky pipes to installing new fixtures, having the proper equipment can make all the difference. In this guide, we’ll explore the essential tools you need to transform your kitchen plumbing and make the process as smooth as possible. Let’s dive in and get started with the most important tool you’ll need—a VEVOR pro press tool—and why it’s a game-changer for your plumbing projects.
The Role of a Pro Press Tool in Kitchen Plumbing
When it comes to plumbing, precision is key. The VEVOR pro press tool is your go-to for ensuring your pipes are securely connected without the mess of soldering or the hassle of traditional methods. This tool uses a hydraulic press to create a leak-proof seal, making it ideal for anyone looking to upgrade their kitchen plumbing. It’s fast, efficient, and easy to use, even for beginners. Plus, it’s versatile enough to handle a variety of pipe sizes, which is a huge bonus when dealing with the complex plumbing systems found in kitchens.
Why You Need a Pro Press Tool
- Speed: The VEVOR pro press tool drastically cuts down on installation time, allowing you to connect pipes in seconds.
- Safety: No open flames or hot work required, which reduces the risk of accidents.
- Reliability: Provides a secure, long-lasting connection that reduces the likelihood of leaks.
- Versatility: Compatible with various materials, including copper, stainless steel, and PEX.
Essential Hand Tools for Kitchen Plumbing
Upgrading your kitchen plumbing involves more than just a pro press tool. You’ll need a good set of hand tools to get the job done right. Here’s a rundown of the must-haves:
Pipe Wrench
A sturdy pipe wrench is crucial for gripping and turning pipes, especially when you’re dealing with stubborn connections. It’s designed to provide a strong grip, helping you to apply maximum torque without slipping.
Basin Wrench
Ever tried to reach that tricky nut behind your sink? A basin wrench is your best friend in these situations. Its long handle and pivoting head make it perfect for those hard-to-reach areas, ensuring you can tighten or loosen nuts without hassle.
Adjustable Wrench
An adjustable wrench is a versatile tool that can be used on a variety of fittings and fasteners. Its adjustable jaw allows you to work on different sizes of nuts and bolts, making it an indispensable part of your plumbing toolkit.
Pipe Cutter
If you’re dealing with copper or PVC pipes, a pipe cutter is essential. It provides a clean, straight cut, ensuring that your pipes fit together perfectly. No jagged edges mean fewer issues when it’s time to connect everything.
Advanced Tools for a Seamless Upgrade
For those looking to take their kitchen plumbing upgrade to the next level, here are a few advanced tools to consider:
Pipe Bender
When you need to navigate your pipes around tight corners, a pipe bender is invaluable. It allows you to create smooth bends without kinking the pipe, which is crucial for maintaining water flow and preventing leaks.
Plumber’s Torch
If you’re comfortable working with copper pipes, a plumber’s torch is a tool you might want to consider. It’s used for soldering copper fittings, creating a strong bond that will last for years. However, this tool does require some skill to use safely and effectively.
Drain Snake
Dealing with clogged pipes is a common issue during kitchen upgrades. A drain snake is a handy tool for clearing blockages in your pipes, saving you from the hassle of calling a plumber.
Step-by-Step Guide to Upgrading Your Kitchen Plumbing
Now that you’ve got your tools ready, let’s walk through the process of upgrading your kitchen plumbing.
Step 1: Plan Your Upgrade
Before you start tearing out pipes, take some time to plan your upgrade. Identify which areas of your kitchen plumbing need attention—whether it’s replacing old pipes, installing a new sink, or rerouting water lines. Make a list of the materials and tools you’ll need, and ensure you have everything on hand before you begin.
Step 2: Shut Off the Water
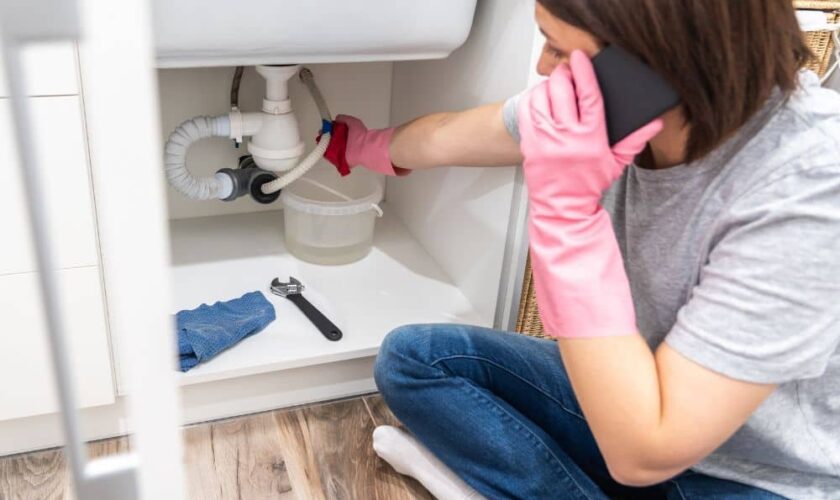
This might seem obvious, but it’s an essential step that can’t be overlooked. Locate the main water shut-off valve for your kitchen and turn it off. This will prevent any water from flowing through the pipes while you’re working, reducing the risk of flooding.
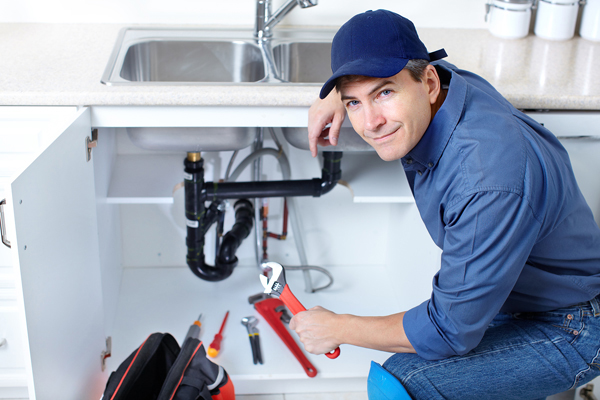
Step 3: Remove Old Fixtures and Pipes
Using your pipe wrench, basin wrench, and adjustable wrench, carefully remove any old fixtures and pipes that need to be replaced. If you’re dealing with copper pipes, use your pipe cutter to make clean cuts at the appropriate points.
Step 4: Install New Pipes and Fixtures
This is where your VEVOR pro press tool comes into play. Use it to securely connect your new pipes, ensuring a leak-proof seal. Install any new fixtures, such as faucets or sinks, and use your adjustable wrench to tighten all connections.
Step 5: Test for Leaks
Once everything is installed, turn the water back on and check for leaks. Pay close attention to each connection point. If you spot any leaks, use your pro press tool to reinforce the connection.
Step 6: Clean Up and Finish
After confirming that everything is leak-free, clean up your workspace and dispose of any old materials. Your upgraded kitchen plumbing is now ready to go!
Common Mistakes to Avoid
Even with the right tools and a solid plan, mistakes can happen. Here are some common pitfalls to watch out for during your kitchen plumbing upgrade:
Over-tightening Connections
It’s tempting to crank down on every connection, but over-tightening can actually damage pipes and fittings, leading to leaks. Tighten connections just enough to create a seal, and no more.
Ignoring Building Codes
Always check local building codes before starting your project. Failing to comply with these regulations can lead to costly fines or even require you to redo the work.
Skipping the Leak Test
Don’t assume that just because everything looks good, it’s leak-free. Always take the time to test your connections before wrapping up your project.
Conclusion
Upgrading your kitchen plumbing is a task that requires preparation, the right tools, and a bit of patience. But with the essential tools like the VEVOR pro press tool in your toolkit, you’re well-equipped to tackle the job. Remember to plan carefully, work methodically, and test thoroughly to ensure a successful upgrade. Happy plumbing!