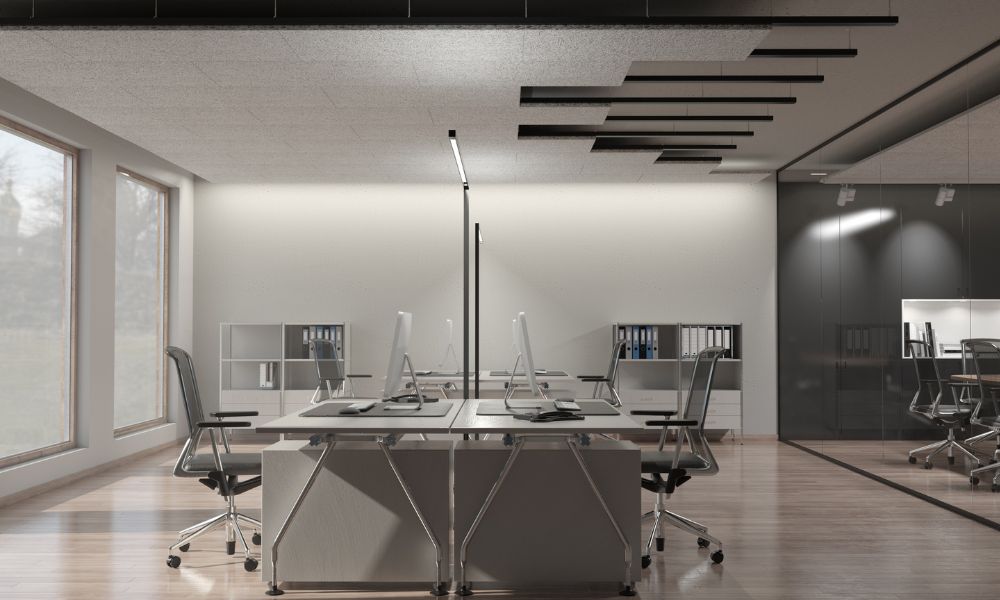
When planning to renovate an office space, choosing the right ceiling solution is crucial for aesthetics and functionality. Suspended ceilings, particularly when paired with strategically chosen ceiling tiles, offer a versatile and stylish way to enhance any commercial setting including offices. This guide provides a detailed overview of suspended ceilings office and step-by-step directions on how to install them—perfect for anyone looking to revamp their ceiling tiles office spaces.
What is a Suspended Ceiling?
The Basics
A suspended ceiling, also known as a drop ceiling, features a grid system that hangs from the overhead structural ceiling. This secondary ceiling comprises metal grids and tiles or panels that easily drop into the grid. The space between the structural ceiling and the drop ceiling is ideal for hiding wires, plumbing, and ductwork, making it a popular choice in commercial and residential buildings.
Benefits of Suspended Ceilings
Suspended ceilings offer several advantages:
- Aesthetics: They provide a clean, streamlined look that can integrate smoothly with various architectural styles.
- Acoustics: Special acoustic ceiling tiles can significantly reduce noise levels, which is essential in busy office environments.
- Maintenance and Accessibility: The ceiling provides easy access to ducts and electrical systems, simplifying repairs and adjustments.
- Energy Efficiency: By creating a smaller space to heat and cool, and by using highly reflective tiles, suspended ceilings can lower energy costs.
Choosing the Right Ceiling Tiles

When selecting ceiling tiles for an office suspended ceiling, consider the following:
- Material: Popular materials include mineral fiber, fiberglass, metal, and PVC. Each has different properties concerning acoustics, moisture resistance, and durability.
- Size and Style: Tiles come in various sizes and styles. While traditional tiles measure 2×2 or 2×4 feet, designer tiles can offer unique patterns and textures.
- Performance: Always consider specific needs such as fire-resistance, humidity resistance, and sound absorption.
Installation Guide
Tools and Materials Needed
Before starting the installation, ensure you have all necessary tools and materials:
- Ceiling tiles
- Grid system (main beams, cross tees, wall angles)
- Suspension wires
- Drill and screwdriver
- Level
- Tape measure
- Tin snips or cutters for metal
- Safety goggles and gloves
Step-by-Step Installation
Step 1: Room and Material Preparation
Clear the room as much as possible. Measure the room to determine the amount of materials needed and to plan the layout of the grid.
Step 2: Install Wall Angles
Use the drill to secure the wall angles around the perimeter of the room. They must be level to ensure the tiles sit flush.
Step 3: Hang the Main Beams
Securely fasten suspension wires to the overhead structure at regular intervals to hang the main beams. Ensure they are straight and level.
Step 4: Add Cross Tees
Snap the cross tees into place between the main beams according to your planned grid layout.
Step 5: Place the Tiles
Finally, drop the ceiling tiles into the grid. Be gentle to avoid damaging the tiles.
Step 6: Finishing Touches
Adjust any tiles as needed to ensure a neat fit, especially around the edges and corners of the room.
Conclusion
Installing a suspended ceiling in your office not only enhances its aesthetic but also provides practical benefits such as improved acoustics and easy maintenance. With the right tools and a bit of patience, you can transform any office into a more polished and efficient workspace. Whether you’re a seasoned DIYer or a first-timer, following these guidelines will help you achieve a professional-looking suspended ceiling that meets your office needs.


